The WordPress Dashboard is your central command center. From here, you’ll create content, manage plugins and themes, adjust settings, and monitor your site’s health. In this tutorial, we’ll explore each area of the Dashboard, walk through key features, and share tips to help you work faster.
1. Accessing the Dashboard
Go to https://yourdomain.com/wp-admin.
Enter your username and password.
Click Log In.
Figure 1: WordPress login screen
2. Dashboard Overview
Upon logging in, you’ll land on the Dashboard’s “Home” tab. It’s divided into several panels:
At a Glance: Quick stats on posts, pages, and comments.
Activity:Recent posts and comments, with moderation links.
Quick Draft: Jot down new post ideas quickly.
WordPress News: Latest updates from the WordPress.org blog.
3. Admin Menu (Sidebar)
On the left, the vertical Admin Menu gives access to every part of your site:
Dashboard – Return to Home or check Updates.
Posts – Add new posts, manage categories/tags.
Media – Upload and manage images, videos, and other files.
Pages – Create and edit static pages (About, Contact).
Comments – Moderate reader comments.
Appearance – Install or customize themes, widgets, menus.
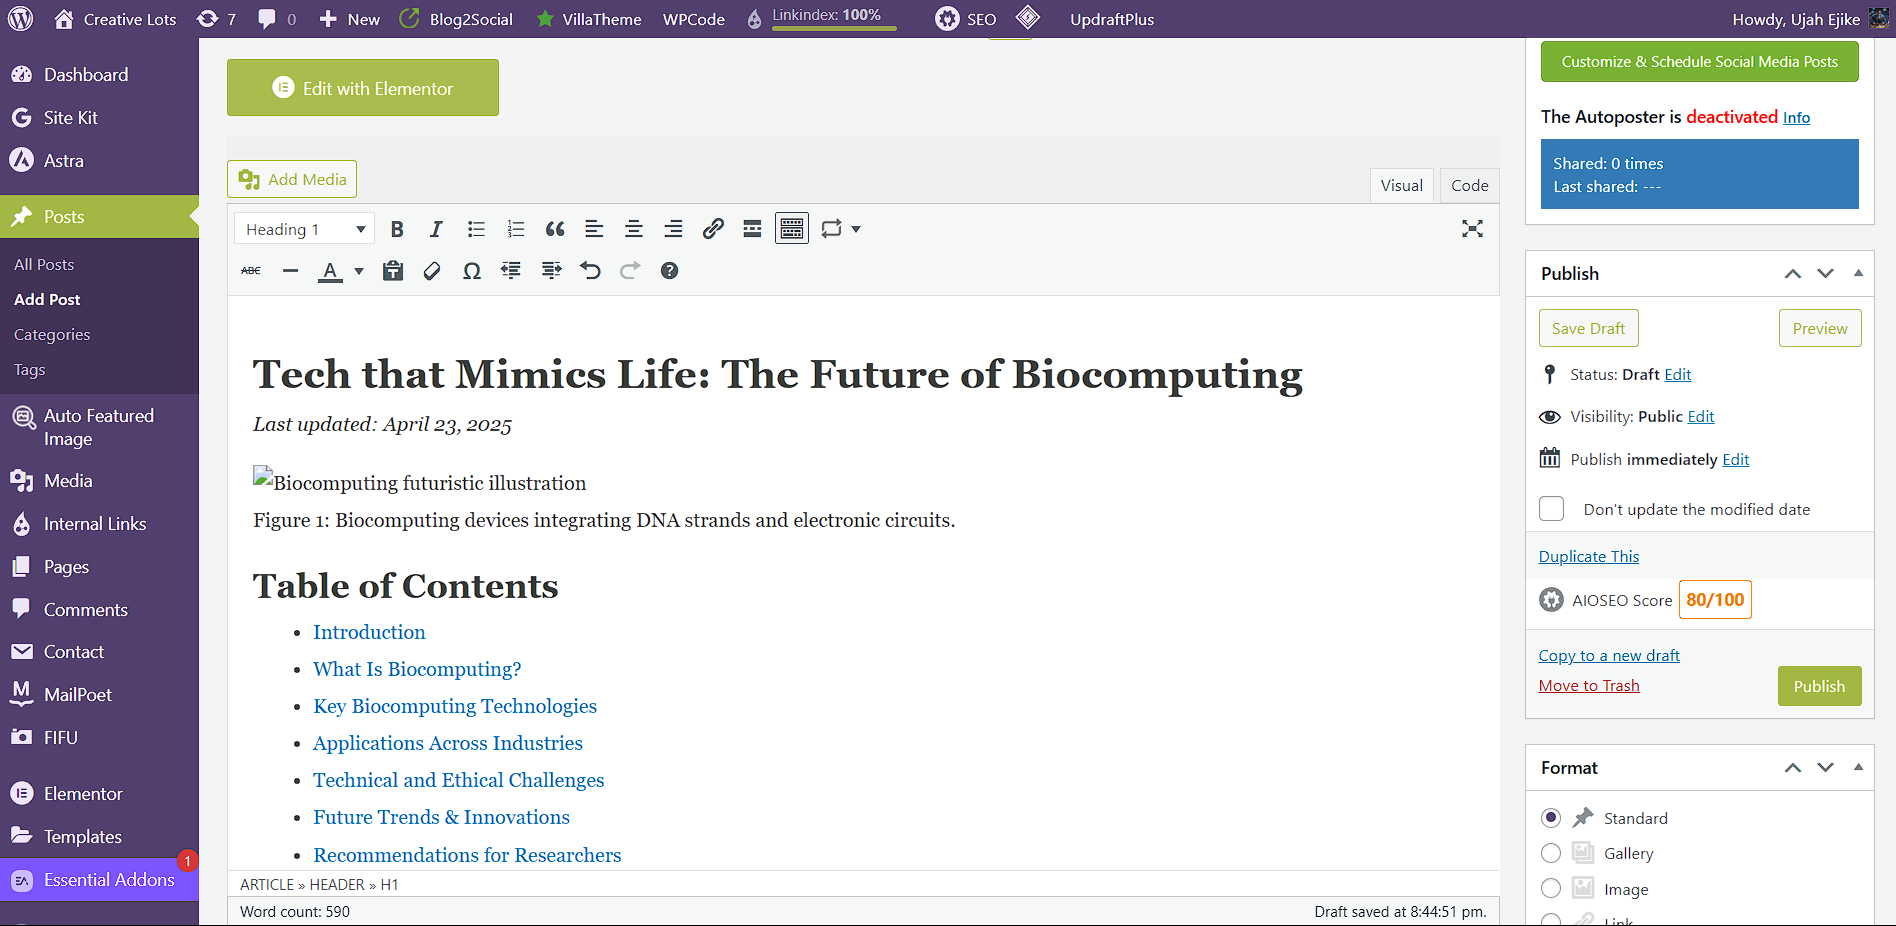
The Top Bar sits across the very top of the screen:
+ New – Quick links to create new posts, pages, media, or users.
Site Name – Hover to visit the front end of your site.
Comments Icon – Number of pending comments; click to moderate.
Updates – Alerts for core, theme, and plugin updates.
User Menu – Profile settings, “Log Out,” and “Edit My Profile.”
Figure 2: Top admin bar with quick actions
5. Customizing Your Dashboard
You can rearrange or remove Dashboard widgets:
Click the Screen Options tab at top right.
Check/uncheck boxes to show or hide panels.
Drag-and-drop panels to reorder.
Conclusion
That’s a whirlwind tour of the WordPress Dashboard! You’re now familiar with logging in, the Home widgets, the Admin Menu, the Top Bar, and customizing your workspace. Next up: creating your first post and mastering the Block Editor.
 Overview of the WordPress Dashboard